

The basil has just been cut, and the kitchen fills with that green, peppery scent that belongs to late summer. When you want to keep that abundance from slipping away, the answer is simple. Dry the herbs well, and you save a little of the season for later. 🌿
If you’re wondering how to dry herbs at home, this guide walks you through simple methods for drying basil, mint, rosemary, thyme, sage, oregano, and more. You’ll learn the best way to dry herbs for tea, cooking, and pantry storage, with options for air drying, dehydrator drying, oven drying, and small-space kitchens.
There is something unmistakably cottagecore about a row of herbs hanging to dry, mint tied with twine near a pantry shelf, rosemary swaying from a beam, lavender tucked beside a window latch, oregano gathered in small bundles above a worn wooden table.
It is a scene that turns an ordinary kitchen into something storied and tender, where usefulness and beauty live side by side.
If you’ve ever stood on a balcony with a handful of mint, clipped parsley from a suburban raised bed, brushed past rosemary outside a cottage door, or cut oregano on a small homestead, you already know that drying herbs is not only a way to stock the pantry; it helps you carry the garden into colder days, waste less, and cook with more flavor.
How to dry herbs at home: Harvest herbs after morning dew dries, clean and dry them thoroughly, then choose air drying, a dehydrator, or a very low oven, based on the herb and your space. Store fully dried herbs in sealed jars away from heat, light, and steam for tea, cooking, and pantry use.
Summer Gathered Into Jars
A windowsill pot of thyme in an apartment and a sprawling herb patch behind a country cottage have more in common than they first appear. Both inspire the same question at harvest time. How do we preserve this bounty before it fades?
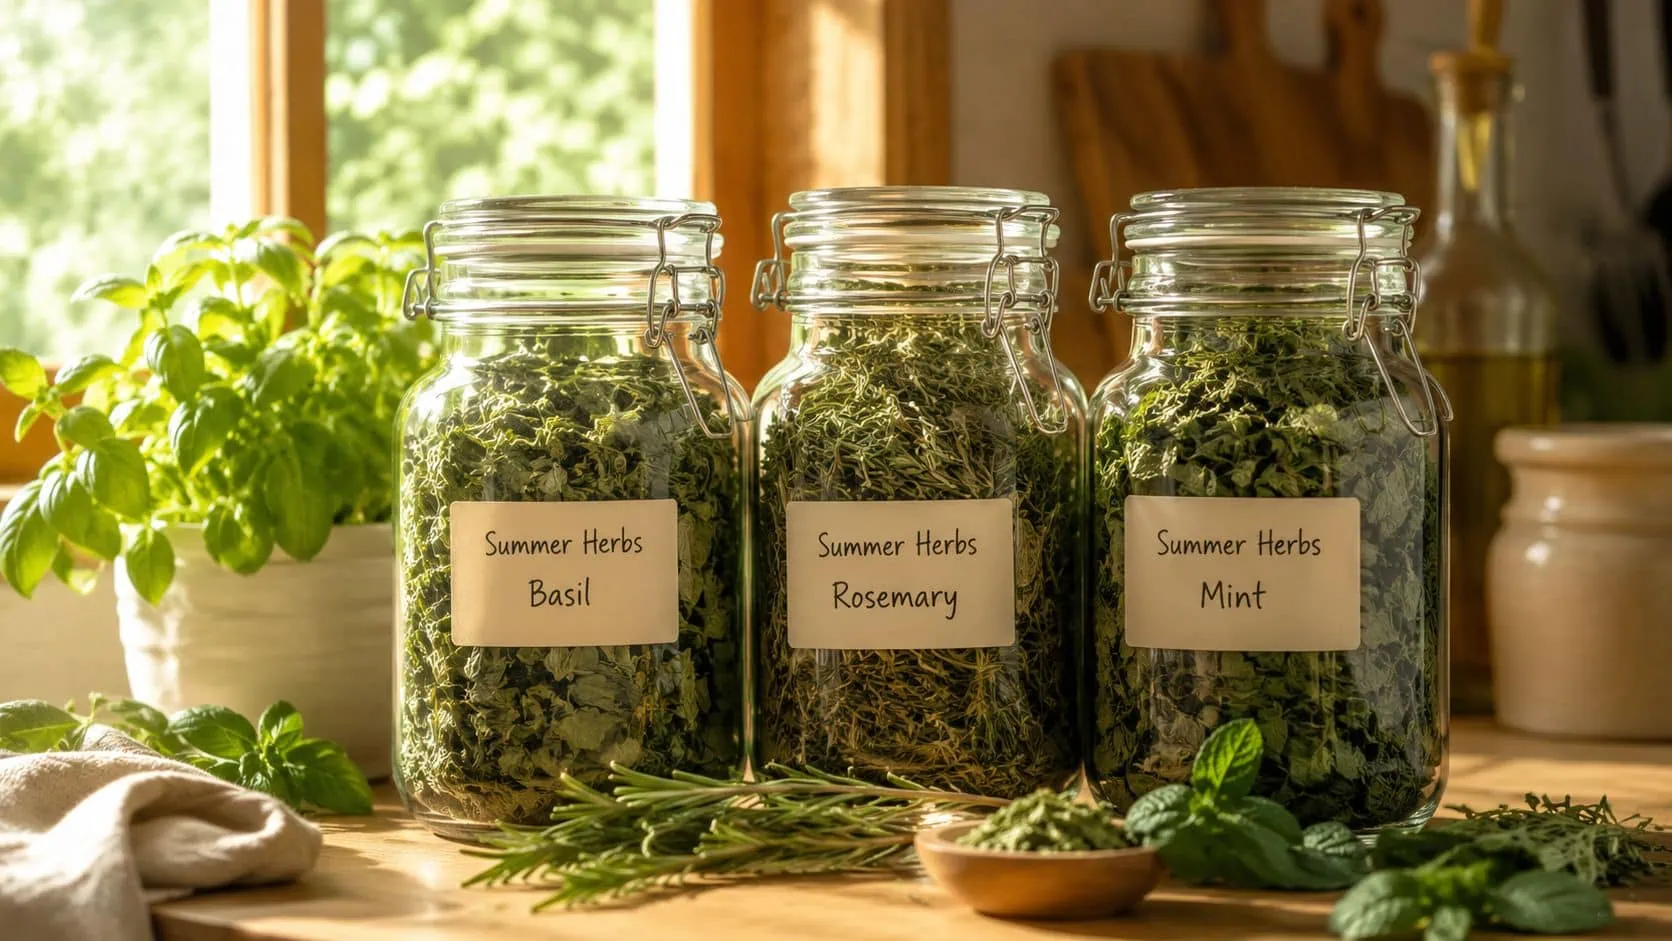
The pantry value of a simple skill
When you learn how to dry herbs at home, you stop seeing herbs as a fleeting garnish. They become winter tea, soup seasoning, roast chicken rub, a pinch in biscuit dough, or a fragrant jar you reach for on a dark evening when the garden is asleep. Whether you grow in containers on a fire escape or tend rows beside a fence line, drying herbs is one of the easiest homestead projects you can start this week.
There’s also a quiet kind of self-sufficiency in it. When the warm months are shaped by watering, pinching, harvesting, and paying attention, drying is the next natural step. Instead of letting the remaining herbs wilt in the fridge, you can preserve the harvest at its best.
For many of us, that’s part of the pleasure of seasonal living. Summer gives generously. Drying lets us answer with gratitude.
Practical rule: Dry herbs with flavor and aroma in mind.
A practice that fits every kind of home
This is one of the most forgiving preserving skills to begin with. Apartment dwellers can dry small batches from windowsill planters. Suburban cooks can save handfuls from patio pots and backyard beds. Cottage gardeners can turn a basket of rosemary, sage, and mint into a pantry shelf that always smells like July. Small homesteads can apply the same principles to a larger harvest, simply by using more trays, string, and labels.
Best herbs to start with
If you’re new to drying herbs, begin with thyme, oregano, sage, and rosemary. These woody herbs are the most forgiving, dry more evenly than tender herbs, and hold their flavor well in the pantry. Once you feel confident, move on to mint, parsley, and basil, which require closer attention.
If you enjoy cultivating timeless kitchen skills, you’ll likely find yourself daydreaming of more preserving ideas for a cottage pantry. Herbs are often the easiest doorway into that world.
Flavor and memory
Dried herbs will never be identical to fresh. They become deeper, quieter, more concentrated. But when they’re dried gently and stored well, they still carry the character of the plant. Rosemary remains invigorating. Mint stays bright. Oregano keeps that warm, savory edge that makes a tomato sauce taste complete.
And there’s undeniable cottagecore beauty in the ritual itself. Bundles on a hook. Glass jars in a cupboard. Handwritten labels. A pantry that reflects what the season gifted. ☀️
Cottagecore living is reflected in a simple row of drying herbs in summer, gathered gently and kept with care.
The Gentle Harvest
The best jars start with a calm harvest. A rushed, overheated armful of herbs rarely dries as well as a small basket cut at the right moment.
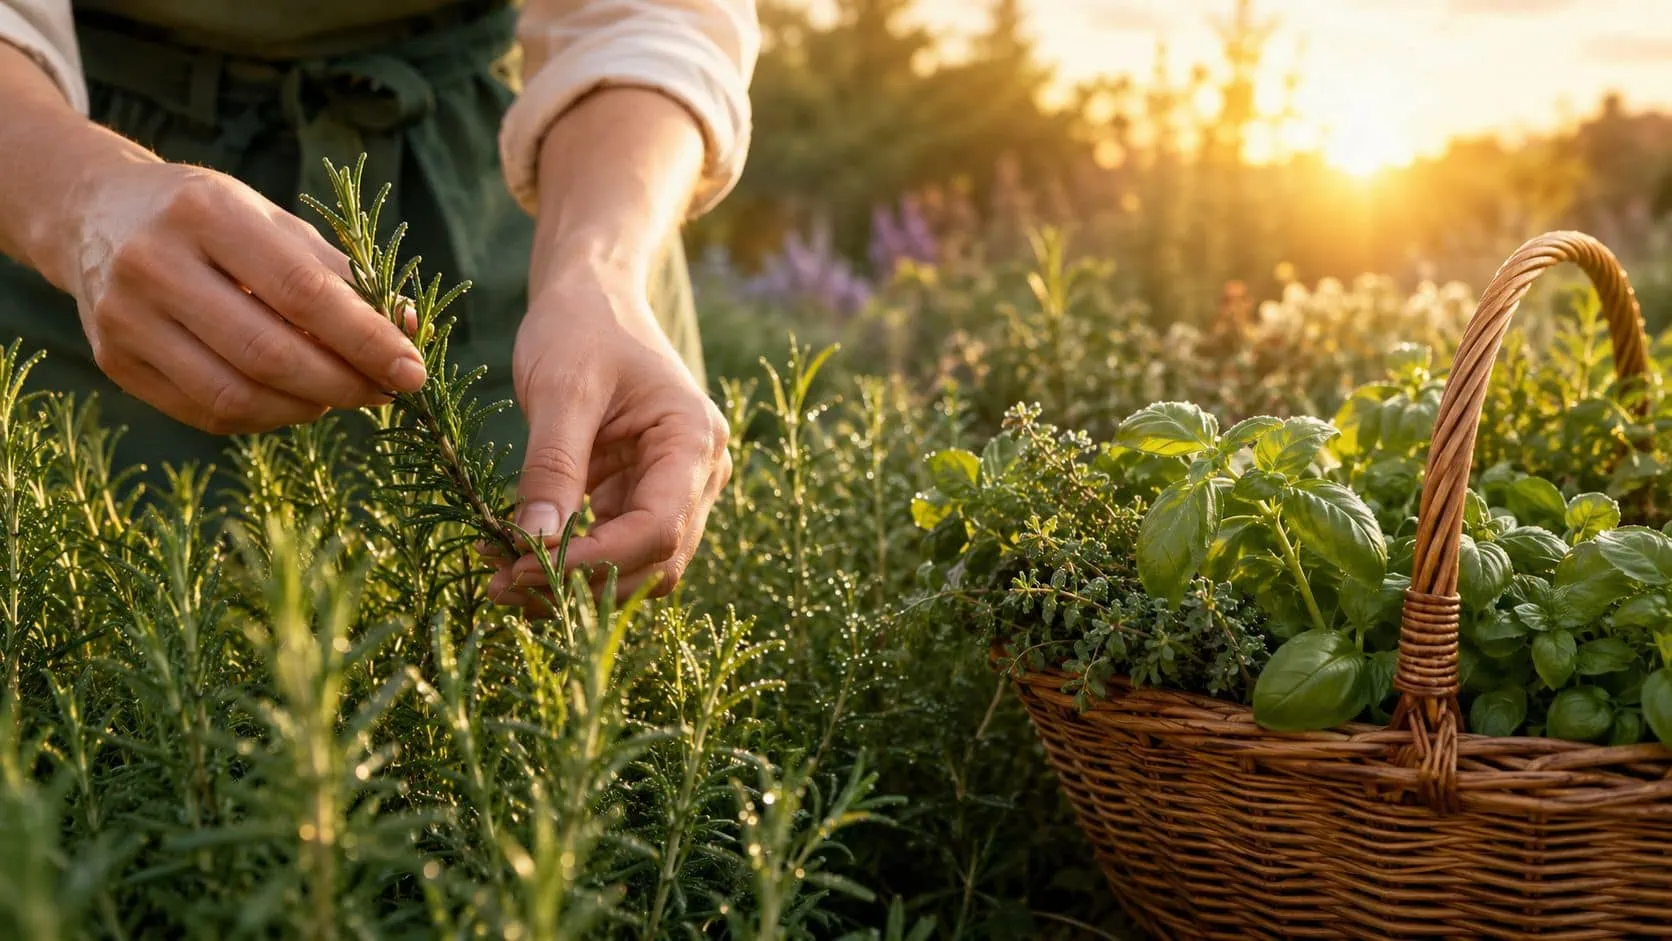
Harvest with a light hand
Cut herbs after the morning moisture has dried and before the day turns hot enough to soften the leaves. In a small apartment kitchen or a tree-shaded cottage, that timing is more important than you might expect. Herbs harvested wet then moved indoors often stay damp too long.
Use clean herb snips, garden scissors, or a sharp pair of kitchen shears. Cut above a leaf set so the plant can branch again. Basil, mint, oregano, and lemon balm respond well to frequent cutting from tender stems. Rosemary, thyme, and sage dry best when you choose younger, flexible growth instead of old woody stems.
Carry them in something open. A basket, colander, or shallow bowl keeps the leaves from sweating against each other. Avoid plastic bags. Moisture gets trapped in them, and tender herbs such as basil can blacken before you even reach the counter.
Clean quickly
Every batch needs a quick inspection.
- If the herbs are dusty: Rinse briefly in cool water, then dry them very well with a clean tea towel or salad spinner.
- If the stems came from muddy beds: Check the lower leaves and stem joints where grit hides.
- If the herbs came from a balcony or windowsill: Look for city dust, pollen, and the fine grime that settles on broad leaves.
Surface moisture is the enemy here. In a dry house, you may get away with a little extra dampness. In a humid kitchen with weak airflow, that same dampness can turn into spotting, sticking, or mold.
If a leaf feels cool and wet in your hand, it is not ready for the drying rack.
Sort before you dry
A few minutes of sorting saves a lot of disappointment later.
Remove insect-damaged leaves, yellowed growth, and anything bruised or slimy. Keep herbs with similar texture together. Tender basil and parsley behave differently from rosemary and thyme, and mixing them in one bundle usually gives you one herb overdried and the other still soft.
Keep bunches small. A bundle that looks pretty on the hook can stay damp in the center for days, especially in a cottage near the coast or an apartment that shares heat and humidity with the rest of the building. Aim for handfuls the size of your thumb for most hanging herbs.
If you plan to hang bundles, tie them firmly while the stems are fresh because they shrink as they dry. Slip a brown paper bag with a few holes over the bundle if dust is a problem or if the herb tends to shed. It keeps the cupboard cleaner and saves the leaves that fall during drying.
The bundles ask for patience long before your jars are filled.
Small-space prep tips
Quality loss for many cottage herb growers begins before drying even starts. The harvest sits in a heap while the counter gets cleared, the phone rings, or dinner needs attention. Twenty minutes in a crowded bowl can flatten mint, warm up basil, and start condensation on the leaves.
Spread the herbs out right away on a sheet pan, cooling rack, or clean flour sack towel. Work in small rounds if your kitchen is tight. Finish one herb before bringing in the next. That habit keeps the process orderly and helps you catch problems early, such as aphids in the mint or hidden moisture tucked into dense oregano tops.
Indoor growers often have an advantage here because the herbs are already close at hand. If you want a steady trickle of herbs instead of one big harvest, this guide to growing fresh herbs indoors all winter for year-round flavor pairs nicely with drying.
A visual walk-through can help.
Tools worth keeping nearby
You don’t need much. A few simple tools make the work tidier and gentler on the herbs.
| Tool | Best use |
|---|---|
| Herb snips or kitchen shears | Clean harvesting and trimming |
| Twine or cotton string | Tying bundles firmly |
| Brown paper bags | Covering hanging herbs and catching fallen leaves |
| Sheet pans or cooling racks | Holding herbs while sorting |
| Tea towels or flour sack towels | Drying rinsed herbs gently |
| Glass jars and labels | Storing finished herbs |
Good prep shows up later in the jar. The color holds better, the fragrance remains powerful, and the whole shelf feels like a faithful record of the season instead of a pile of dried leaves.
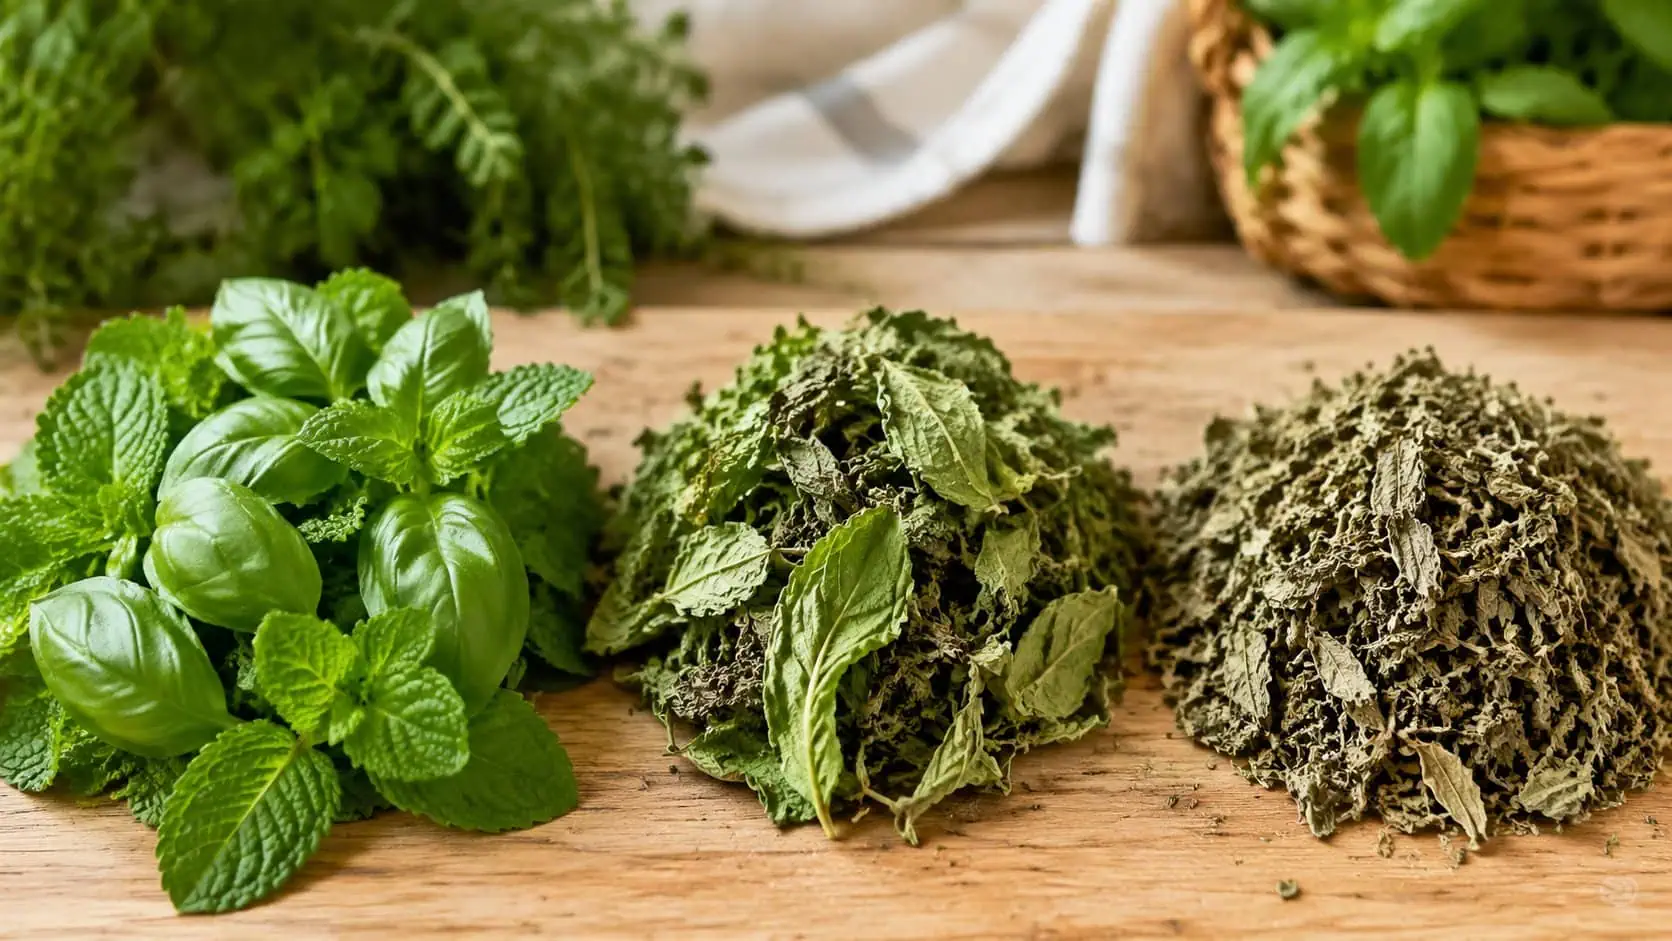
Choosing the Kindest Drying Method
Drying herbs is never just about the herb. It is also about reading the room. Think about how the weather affects your space, and how much space you have to work with.
In a dry house, air drying can be simple and satisfying. In a small apartment with cooking steam, or in an old cottage that holds moisture after rain, the method matters just as much as the harvest.
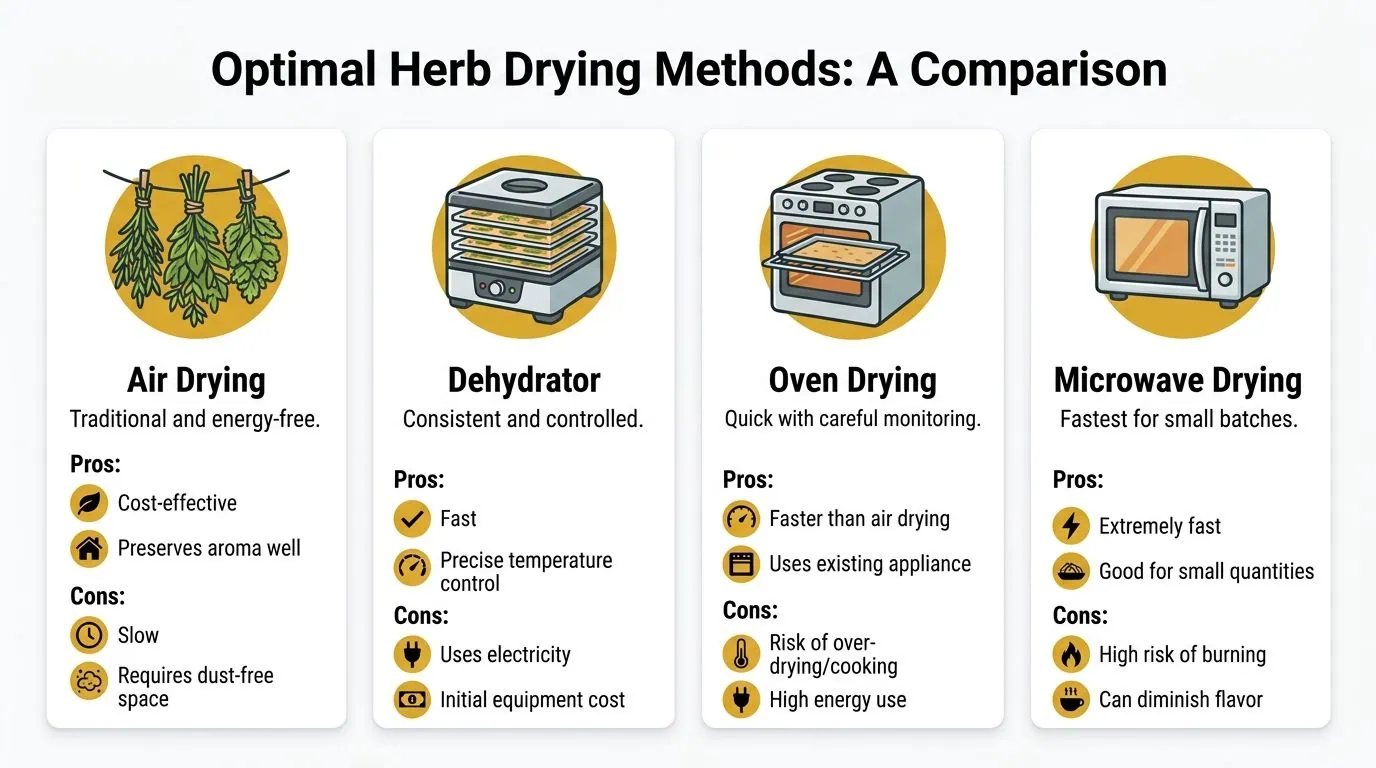
A quick comparison before you choose
| Method | Best for | Main strength | Main caution |
|---|---|---|---|
| Air drying | Dry homes, woody herbs, decorative bundles | Gentle and simple | Slow and climate-dependent |
| Dehydrator | Apartments, humid homes, mixed batches | Controlled drying | Requires equipment |
| Oven | Fast backup option | Uses what most kitchens already have | Easy to overheat |
| Microwave | Tiny urgent batches | Very fast | Burns easily |
If you also put up tomatoes, jam, or broth, home canning guides for pantry builders pair beautifully with herb drying. The shelf looks better for knowing both skills.
Air drying for dry rooms and sturdy herbs
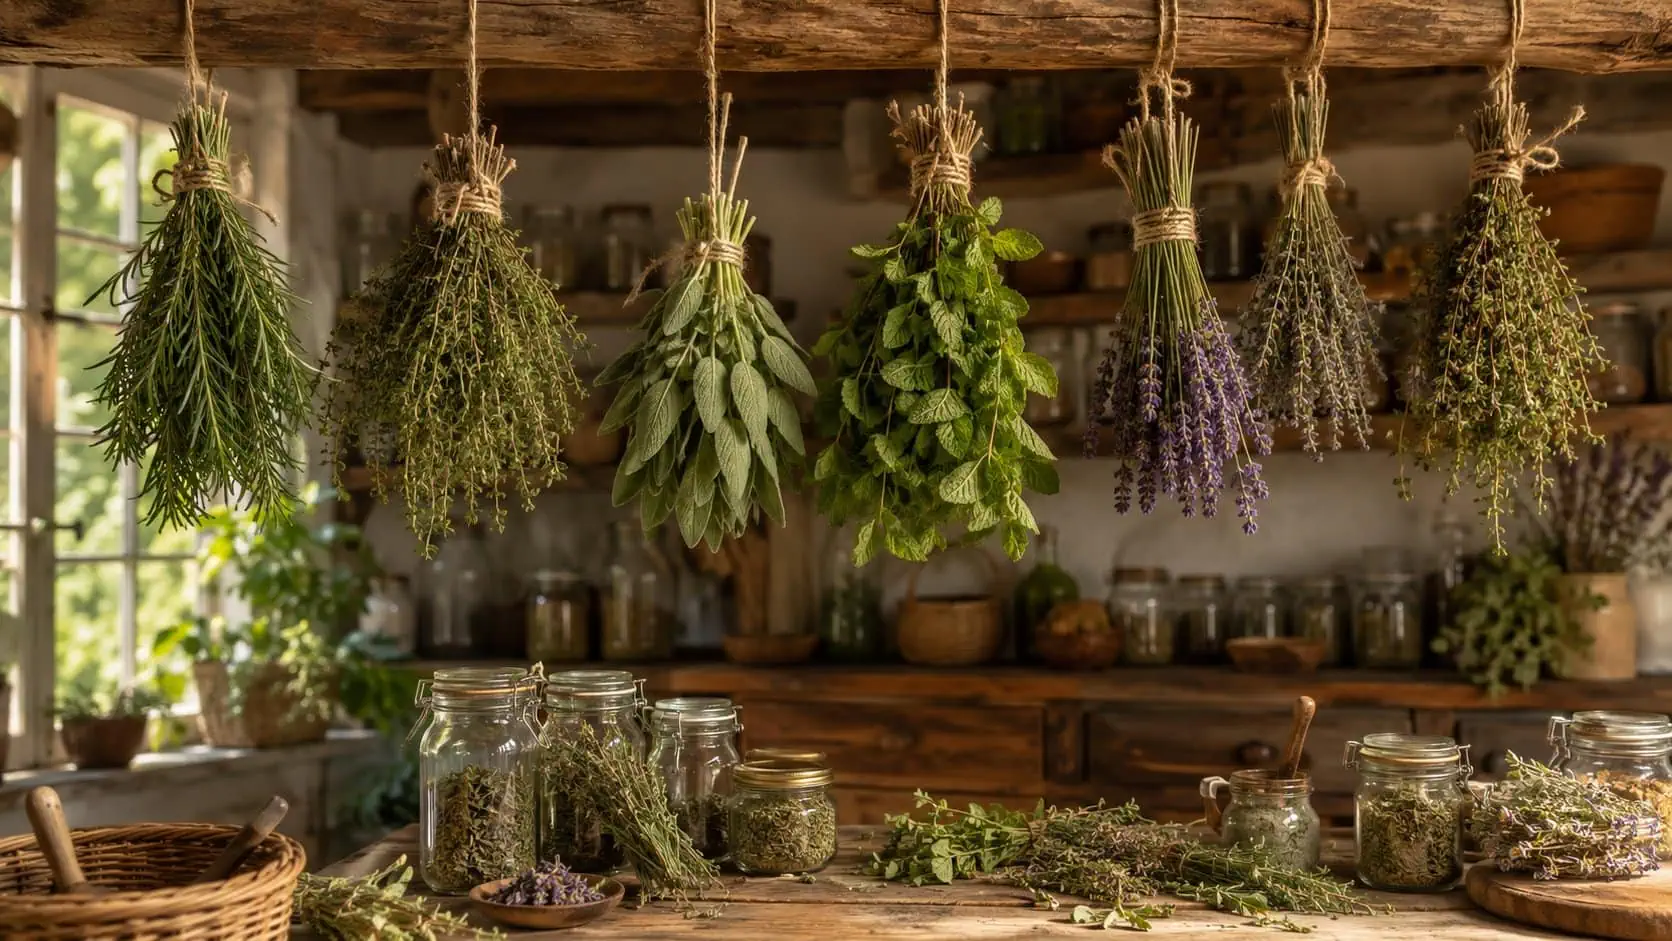
Air drying offers instant cottagecore beauty. Bundles hanging from a hook, the room slowly filling with sage or thyme, the pleasure of preserving something with almost no equipment. It still works well, but only when the space cooperates.
Use this method for woody or resinous herbs such as rosemary, thyme, oregano, and sage. They hold up well to a slower dry. Tender herbs are far less forgiving, especially in small homes where air does not move much.
How to air dry herbs well
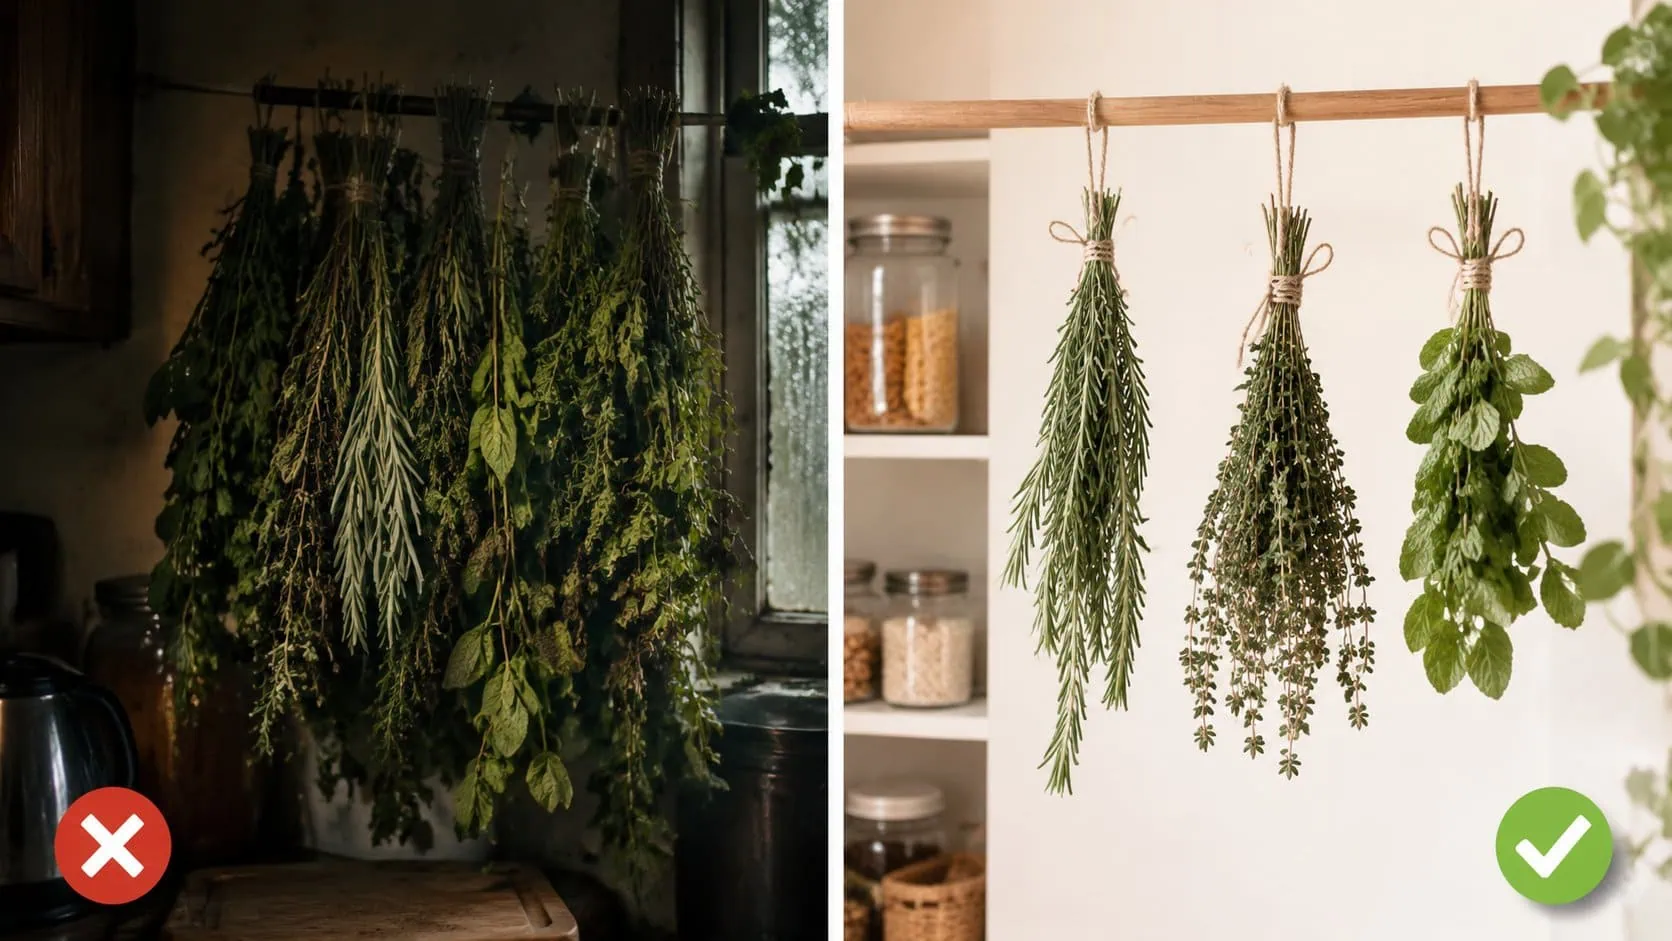
- Make small bundles: Thick bunches dry unevenly and stay damp in the center.
- Tie stems snugly: The stems shrink as they dry and loose bundles fall apart.
- Hang in low light: Sun fades color and fragrance.
- Choose real airflow: A spare room, dry hallway, or covered porch works better than above the stove.
- Use paper bags if dust is a problem: Cut a few holes for ventilation and slip the bag loosely over the bundle.
- Check the middle, not just the outside: Outer leaves can feel dry while the center still holds moisture.
A pretty bundle in the wrong room can spoil. If the leaves feel limp after a day or two, or the scent turns flat and musty, change methods before the whole batch is lost.
When air drying is a poor fit
Skip open-air drying if your windows sweat, your laundry dries slowly indoors, or your kitchen fills with steam every evening. In tight apartments, herbs may end up near dust, grease, or direct sun, so avoid open-air there too.
Slow drying is gentle, and it is the most traditional choice. But in damp conditions, it gives mold and browning more time to set in.
Dehydrator drying for small spaces and humid homes
A dehydrator is the steadiest choice, no matter your drying conditions. It earns its keep in apartments, basement suites, humid cottages, and any kitchen where the air changes from day to day.
This method is especially useful for basil, mint, parsley, lemon balm, cilantro, and dill. Those tender herbs discolor and mildew easily if they linger too long in damp air. A dehydrator speeds things up without cooking them, as long as you keep the heat low.
How to use a dehydrator
- Arrange herbs in a single layer on trays.
- Keep leaves from overlapping more than necessary.
- Use a low temperature setting suited to herbs.
- Check often near the end rather than relying only on the clock.
- Remove each tray as soon as that batch is dry.
The trade-off is practical. You need counter space while it runs, and may need storage space if you only use it for special projects. Even so, if you dry herbs more than once or twice a season, a dehydrator is worth considering.
Oven drying when weather turns
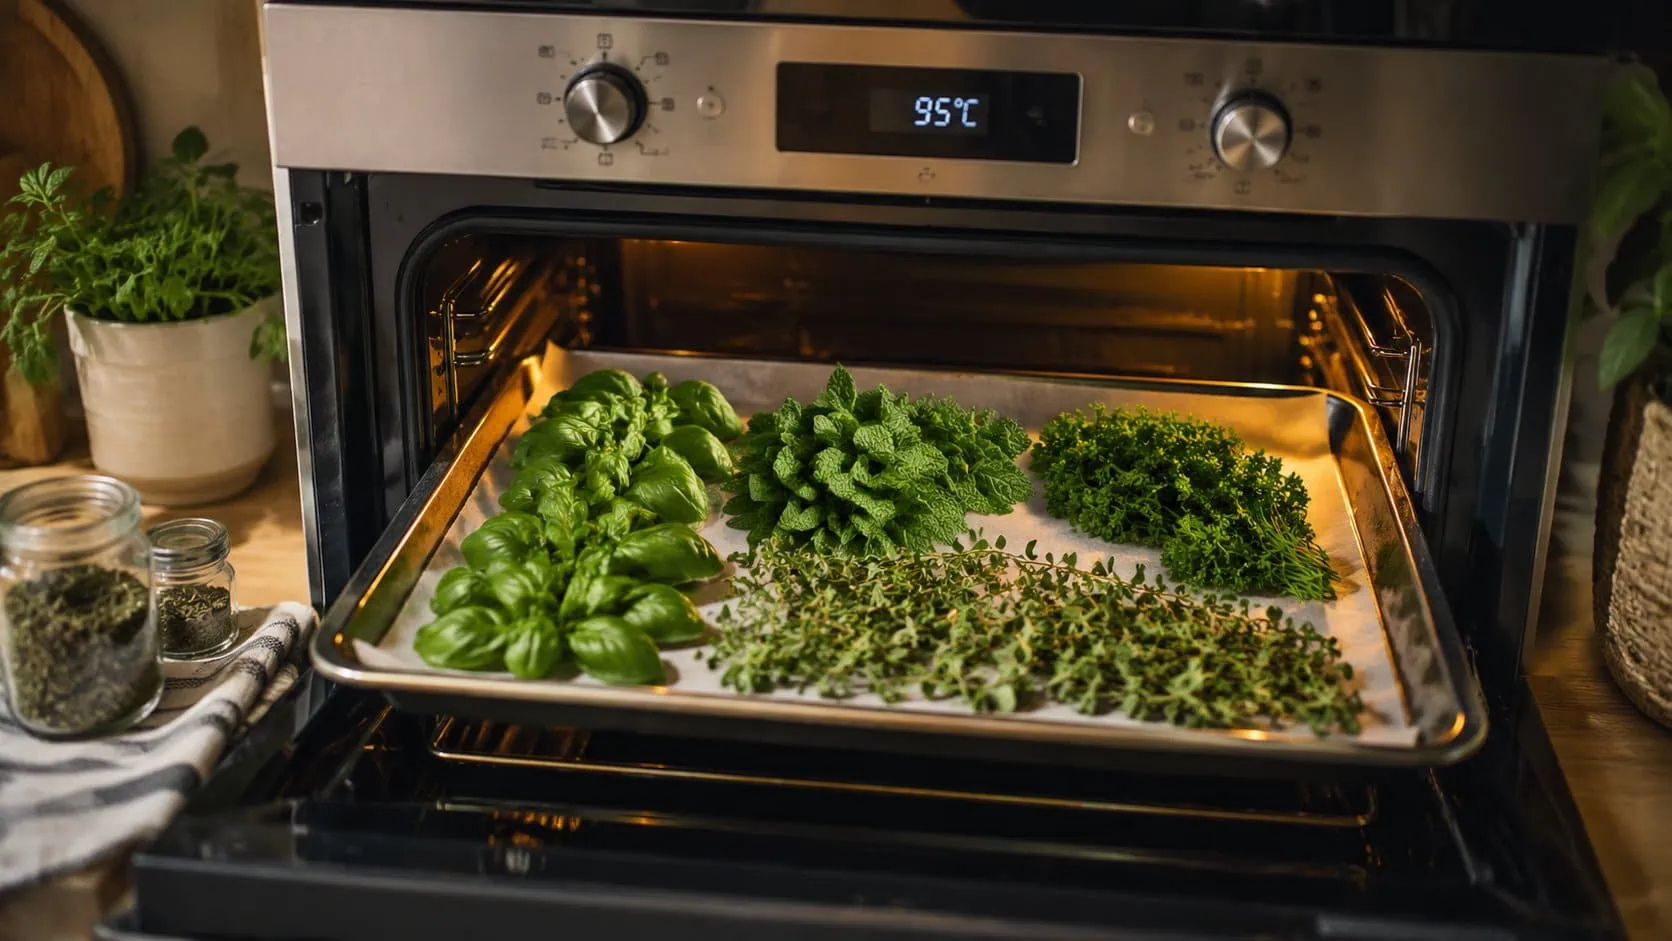
The oven is a practical rescue method. It is useful after a rainy harvest, during a humid spell, or any time you have more herbs than your drying space can handle.
Use the lowest heat your oven can manage. Spread the herbs in a single layer on a lined sheet pan and keep the door slightly open so moisture can escape. Stay nearby. Turn the trays if needed and check often, because herbs can go from fragrant to toasted in a flash.
Oven method in a real kitchen
This works best with watchful attention. It is a good same-day option for mint, parsley, or oregano when the weather refuses to cooperate, but it is less kind to delicate herbs than a dehydrator.
If you begin picking up the aroma of cooked spinach instead of clean herbs, the heat is too high. Pull the batch, lower the temperature, and try again with a smaller amount.
Microwave drying for a handful, not a harvest
The microwave is a last resort, reserved for one job when it comes to herb drying, quickly saving a very small batch when you don’t want to waste it.
A few sage leaves, a clipped sprig of thyme, a little mint for tea. That is the right scale. Layer the herbs between paper towels, heat in very short bursts, and check every round. Let the leaves cool before deciding whether they are done, because warm herbs often feel softer than they really are.
This method is quick, but it is easy to scorch tender leaves. Use it only for tiny amounts, never for a whole tray of mixed herbs.
Practical tasks are inspiring when done with care.
Method match
Apartment kitchens
Choose a dehydrator if you have one. Use the oven for small batches when the air feels sticky or the kitchen sees daily cooking steam. Reserve air drying for sturdy herbs and only if you have one genuinely dry spot away from grease and dust.
Suburban homes
Use air drying in a spare room, dry laundry room, or any place with steady airflow. Switch to a dehydrator for basil, mint, parsley, and other tender herbs that brown easily.
Country cottages
Country air can feel nice and airy, but cottages often hold hidden dampness in walls, cupboards, and back rooms. Remember this: air drying works well during a dry stretch. In wet weather, a dehydrator or a carefully watched oven gives better results.
Small homesteads
Use air drying for sturdy herbs when the weather is on your side. Use a dehydrator or low oven for quick turnover, repeat harvests, and tender herbs.
Match the method to the moisture
Good herb drying is part cottagecore romance, part practical matching game. Woody herbs forgive more. Tender herbs ask for speed and control. Dry rooms allow patience. Humid rooms punish it.
If you choose the method that suits your space first, full, fragrant jars in your pantry will be your reward.
The best drying method is the one that suits your weather, your kitchen, and the herb in your hand.
Beauty Hung With Purpose
This is where cottagecore charm and practical skill meet most beautifully, not in choosing between usefulness and loveliness, but in letting them ripen together. A pantry lined with dried mint, thyme, sage, and oregano is lovely to look at, yes, but it is also the reward of careful seasonal living. The hanging bundles, the labeled jars, the quiet fragrance released when a cupboard opens, all of it points toward the same goal: a home stocked with intention, a kitchen ready for soups, teas, breads, and garden-to-table dishes.
Herbal Wisdom and Common Troubles
When Summer Needs a Steadier Hand
The batch that humbles people is usually basil.
It looks tender and abundant on the cutting board, and it smells like a slow summer supper. Then a day or two later, in a small apartment kitchen, the leaves go olive, the stems stay damp, and the whole lot slumps instead of drying. That’s not bad luck. It is a mismatch between the herb, the room, and the method.
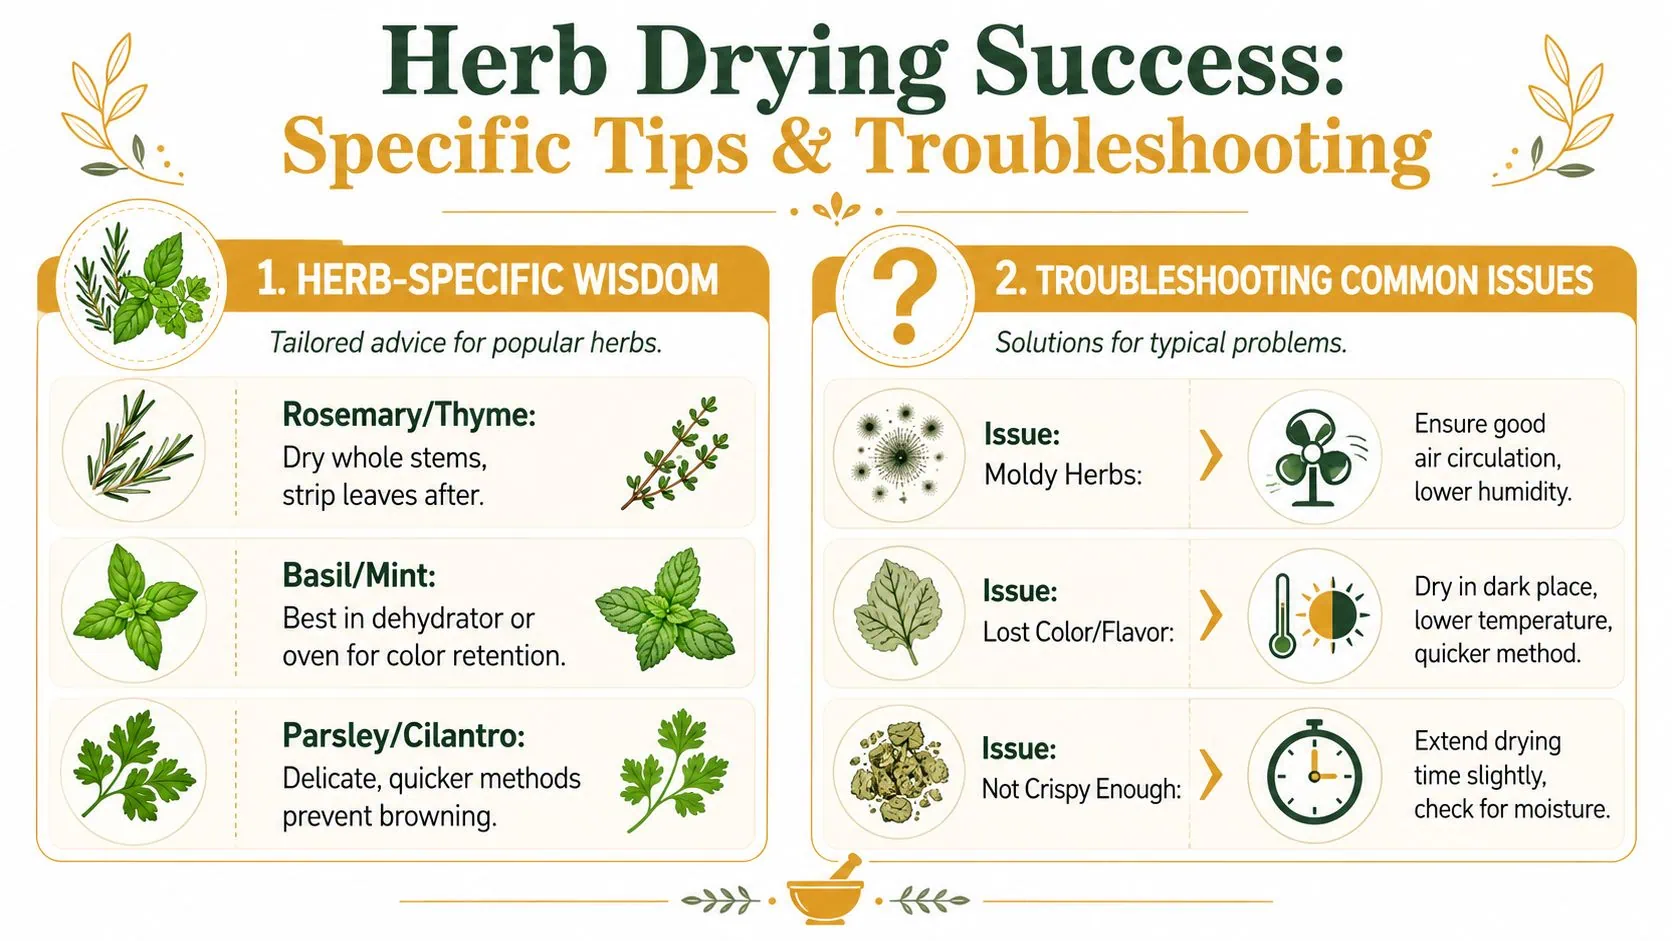
Two herb families that need different treatment
Delicate herbs
Basil, cilantro, parsley, mint, lemon balm, dill, and many tea herbs all bruise easily and hold more moisture than they first appear. In a dry house with good airflow, they can air dry well enough. In apartments with abundant cooking steam, or cottages that stay a little damp, they often need quicker drying and more space around each leaf.
Spread these herbs in thin layers. Keep bunches small. Check them more often than you think you need to.
Basil is the fussiest, dry it fast and out of strong light. Parsley and dill can also be tricky, because the leaf tips feel dry while the thicker stems still hold moisture. Mint and lemon balm can go stale or moldy if they are piled too thickly.
Woody herbs
Rosemary, thyme, oregano, marjoram, and sage are easier company, but they still have their habits. They tolerate slower drying better, and they usually hold their scent well if the room is reasonably dry. The trouble comes in the center of the bundle, where air cannot reach.
Woody herbs are pretty drying on a hook, but remember that modest bundles dry better than handsome ones.
Rosemary is especially deceptive. The needles may feel dry on the outside while the stem core still carries moisture. Sage dries more evenly, but its exposed leaves can become brittle if they sit too near heat.
A simple herb-by-herb guide
| Herb type | Better approach in small spaces | Watch for |
|---|---|---|
| Basil and cilantro | Fast drying in a dehydrator or very low oven | Browning, limp leaves, loss of fresh aroma |
| Mint and lemon balm | Thin layers or very small airy bundles | Blackened spots, stale smell, trapped moisture |
| Parsley and dill | Spread loosely and check stems, not just leaves | Dry leaf tips with damp centers |
| Rosemary and thyme | Small bundles or trays with good airflow | Moisture hidden in thick stems or bundle centers |
| Sage and oregano | Air drying works well if the room is dry | Leaves getting brittle before stems finish |
Short drying time guide
| Herb | Air drying | Dehydrator | Very low oven |
|---|---|---|---|
| Basil | 5 to 7 days | 1 to 4 hours | 30 to 90 minutes |
| Mint | 5 to 7 days | 1 to 3 hours | 30 to 90 minutes |
| Parsley | 5 to 7 days | 1 to 3 hours | 30 to 90 minutes |
| Dill | 4 to 6 days | 1 to 3 hours | 30 to 60 minutes |
| Oregano | 5 to 7 days | 1 to 3 hours | 30 to 60 minutes |
| Thyme | 4 to 6 days | 1 to 2 hours | 20 to 60 minutes |
| Sage | 5 to 7 days | 1 to 3 hours | 30 to 60 minutes |
| Rosemary | 7 to 10 days | 2 to 4 hours | 30 to 75 minutes |
These times are only an approximate guide. Humidity, leaf size, and airflow can shift them quite a bit, so let the herb itself make the final decision.
Herbs do not fail to dry well by category alone. They fail one stem, one leaf thickness, and one damp corner at a time.
Beginner mistakes to avoid
A few early habits cause most drying disappointments.
- Making bundles too large: Thick centers stay damp long after the outer leaves feel dry.
- Starting with wet herbs: Even a little leftover surface moisture slows drying and invites mold.
- Using too much heat: Fast heat can dull color, flatten fragrance, and make leaves brittle.
- Jarring too soon: Herbs that seem dry can still hold hidden moisture in stems and midribs.
- Storing near steam: A cupboard beside the stove or kettle can soften a finished batch surprisingly fast.
When herbs turn brown
Brown herbs usually spent too long drying, sat in too much heat, or caught direct light. If it smells flat, dusty, or cooked, it has lost a good deal of what you wanted to save.
For basil, switch to a quicker method next time. For parsley, reduce the batch size so the stems are not slowing everything down. For mint, lower the heat and handle the leaves less. Slightly browned herbs may be fine for a pot of beans, a broth, or a simmering canned tomato sauce for the pantry, but skip using them in gifts or tea blends.
When herbs feel dry but soften in the jar
This problem shows up all the time in tight kitchens and damp houses. The tray feels dry. The jar says otherwise.
The cause is usually hidden moisture in stems, thick midribs, or crowded leaves that cooled before they were fully dry. Open the jar and check at once. If the herbs have gone soft, dry them again the same day. If you see any moisture beading on the glass, spread the batch out and return it to the dehydrator, oven, or drying rack until the thickest pieces finish. If there is mold, discard the lot.
Never try to rescue moldy herbs. A small batch lost is better than a whole jar spoiled.
When bundles smell musty
A musty smell means the center stayed damp too long. Paper bags can do this if airflow is poor. So can bundles tied thickly because the harvest looked generous and you wanted it off the counter.
Compost it and start over with smaller bundles.
When leaves shatter into dust
That comes from too much heat, too much handling, or both. Dried herbs should crumble when you press them, not the moment you touch them.
Store leaves whole whenever possible. Crush them at the stove, over the teapot, or straight into the mixing bowl. You preserve more aroma that way, and the jar stays cleaner.
The quiet problem of indoor humidity
Indoor moisture is often the root of herb drying mishaps. A cottage near the coast, an apartment above a busy kitchen, even a suburban house in a rainy spell can turn a finished batch soft again if the jars live near steam and warmth.
A few practical habits help. Keep jars away from the stove, kettle, and dishwasher. Let herbs cool fully before you pack them. Check the jar again the next day, especially after drying thick-stemmed herbs like rosemary or parsley. In a damp home, it also helps to dry smaller batches more often instead of trying to push through one heroic harvest day.
That approach is slightly less romantic, but it saves more herbs.
The Pantry Ritual
A Cupboard Kept with Care
By the time the herbs are dry, the whole task seems to soften into something effortless. The clipping and sorting are behind you now, and what remains feels almost ceremonial. You gather the jars, brush the table clean, and begin tucking away the fragrance of summer leaf by leaf, making ready for the kind of evening when rain taps the window and the pot on the stove calls for a little brightness from the pantry shelf.
Store well, because in an apartment cupboard or a damp cottage pantry, a batch can dry beautifully and still lose fragrance, color, or texture if it is stored carelessly.
The final dryness test
Check the thickest part of the batch before a single leaf goes into a jar. A tender leaf should crumble when rubbed between your fingers. A stem should snap cleanly. If it bends, or if the leaf feels cool and limp instead of dry and papery, give it more time.
Test only a little. One stem from the center of the bunch tells you more than a handful from the outside.
Keep the leaves whole in storage whenever you can. This preserves more scent in the jar. Crush mint over the teapot, oregano over the sauce pot, rosemary onto the board just before chopping.
Storing for flavor, color, and shelf life
Use jars that close well and fit the batch. Small jars are often the better choice in humid homes, because you open them more quickly, empty them sooner, and expose less of the harvest each time. Glass spice jars, canning jars, and clamp-lid jars all work if the lids seal tightly and the herbs went in fully dry.
When the lid lifts and the fragrance rises, the pantry feels less like storage and more like a memory kept close.
A well-kept herb jar is summer resting quietly on the shelf.
Light, heat, and kitchen steam wear herbs down fast. Store jars in a cool, dark cupboard, not on an open shelf by the stove where they catch warmth and grease every day.
Label every jar with:
- The herb name
- The month and year dried
- A useful note for later, such as “strong thyme” or “tea mint”
If you also put up tomatoes and peppers, dried herbs earn their shelf space all winter. A pot of canned tomato sauce for the pantry shelf tastes more like August when the oregano and basil came from your own drying rack.
A small-space storage routine that prevents disappointment
In small homes, the handiest cupboard is often the worst one.
Choose the driest storage spot you have, even if it is across the room from the stove. Do not keep herbs above the kettle, beside the dishwasher, or in the cabinet that turns warm every time supper cooks. In a cottage kitchen, you may need to give up one pantry shelf rather than lose a season of lemon balm to lingering damp.
A simple check keeps trouble from getting ahead of you:
- Let herbs cool completely before jarring.
- Check each jar the next day for any softening or fogging.
- If the leaves feel less crisp, spread them out and dry them a bit longer.
- Open the cupboard after a steamy cooking day if moisture tends to collect there.
Delicate herbs such as basil, chives, and parsley usually fade first in a humid kitchen. Woody herbs like thyme, sage, and rosemary hold up longer, but they still lose strength if the jar lives near heat.
Beautiful ways to use your dried herbs
Dried herbs are pantry ingredients, but they are also part of the mood of a house. Open a jar of mint in January and the room changes. Rub sage between your palms before adding it to stuffing and the whole cutting board smells warm and uplifting.
Use them generously, with a little common sense about strength. Drying concentrates many herbs, so start lighter than you would with fresh and adjust in the pot. A few easy ideas:
- For tea: Blend mint with lemon balm or chamomile.
- For baking: Add a little lavender to shortbread dough, then taste the first batch before making more.
- For supper: Crush thyme into bean soup, oregano into tomato sauce, rosemary onto potatoes.
- For finishing salt: Mix dry sage, thyme, or oregano with coarse salt and keep it in a small jar away from steam.
- For gifts: Fill labeled jars with mint, chamomile, or oregano and tuck them into a basket with a towel or wooden spoon.
A good herb jar collection is never clutter, it is one of the simplest ways to care for your home.
Best Herbs for Tea
“Rosemary is for remembrance.” William Shakespeare, Hamlet
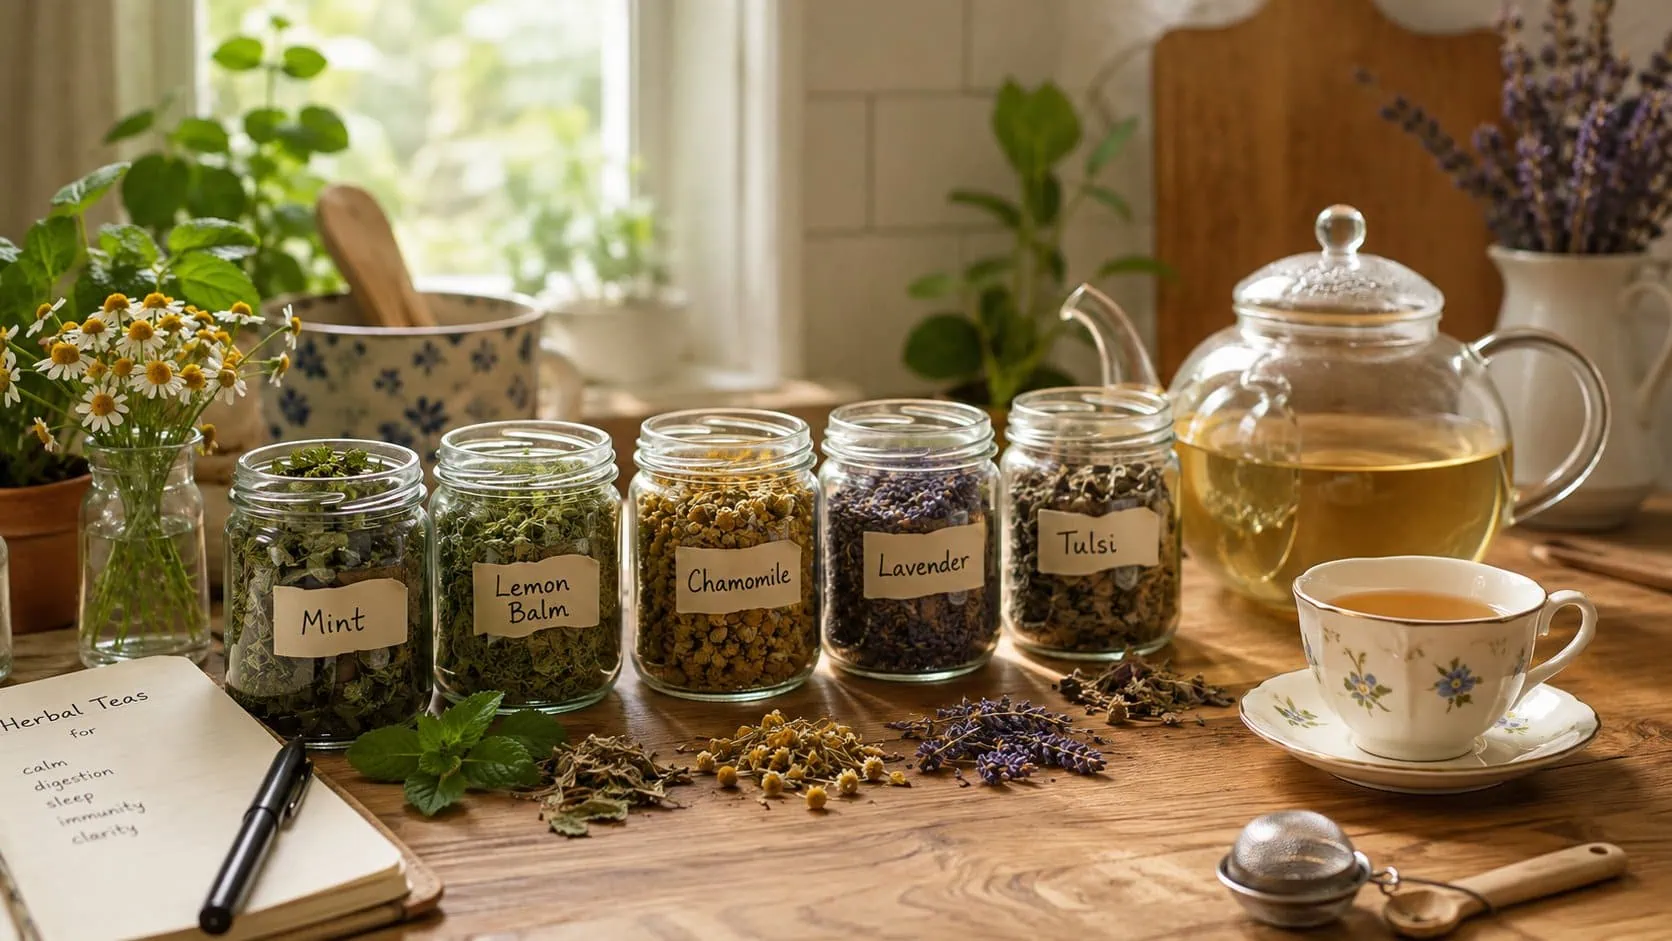
Some herbs are especially lovely to dry for the teapot. Mint, lemon balm, chamomile, lavender, and tulsi all keep their charm well when dried with care, and each brings something a little different to the cupboard.
Mint and lemon balm make an easy place to begin because they dry well in small batches and brew into a gentle, comforting cup. Chamomile is delicate and best dried out of strong light. Lavender is best used lightly, just enough to lend a soft floral note without overwhelming the blend. Tulsi, if you grow it, dries beautifully for an earthy, fragrant tea that feels especially welcome at twilight.
A few gentle tea pairings
| Blend | Simple pairing | Cup character |
|---|---|---|
| Quiet evening | Lemon balm + chamomile | Soft, calm, and gentle |
| Winter comfort | Mint + tulsi | Bright, warming, and earthy |
| Garden floral | Chamomile + a little lavender | Light, soothing, and fragrant |
| Summer freshness | Mint + lemon balm | Cool, green, and easy to love |
If you plan to dry herbs mainly for tea, keep the batches small, handle the leaves and flowers gently, and store them away from heat and steam so the fragrance stays bright.
Drying Edible Flowers
A handful of petals drying in the kitchen feels like a little kiss from the garden.
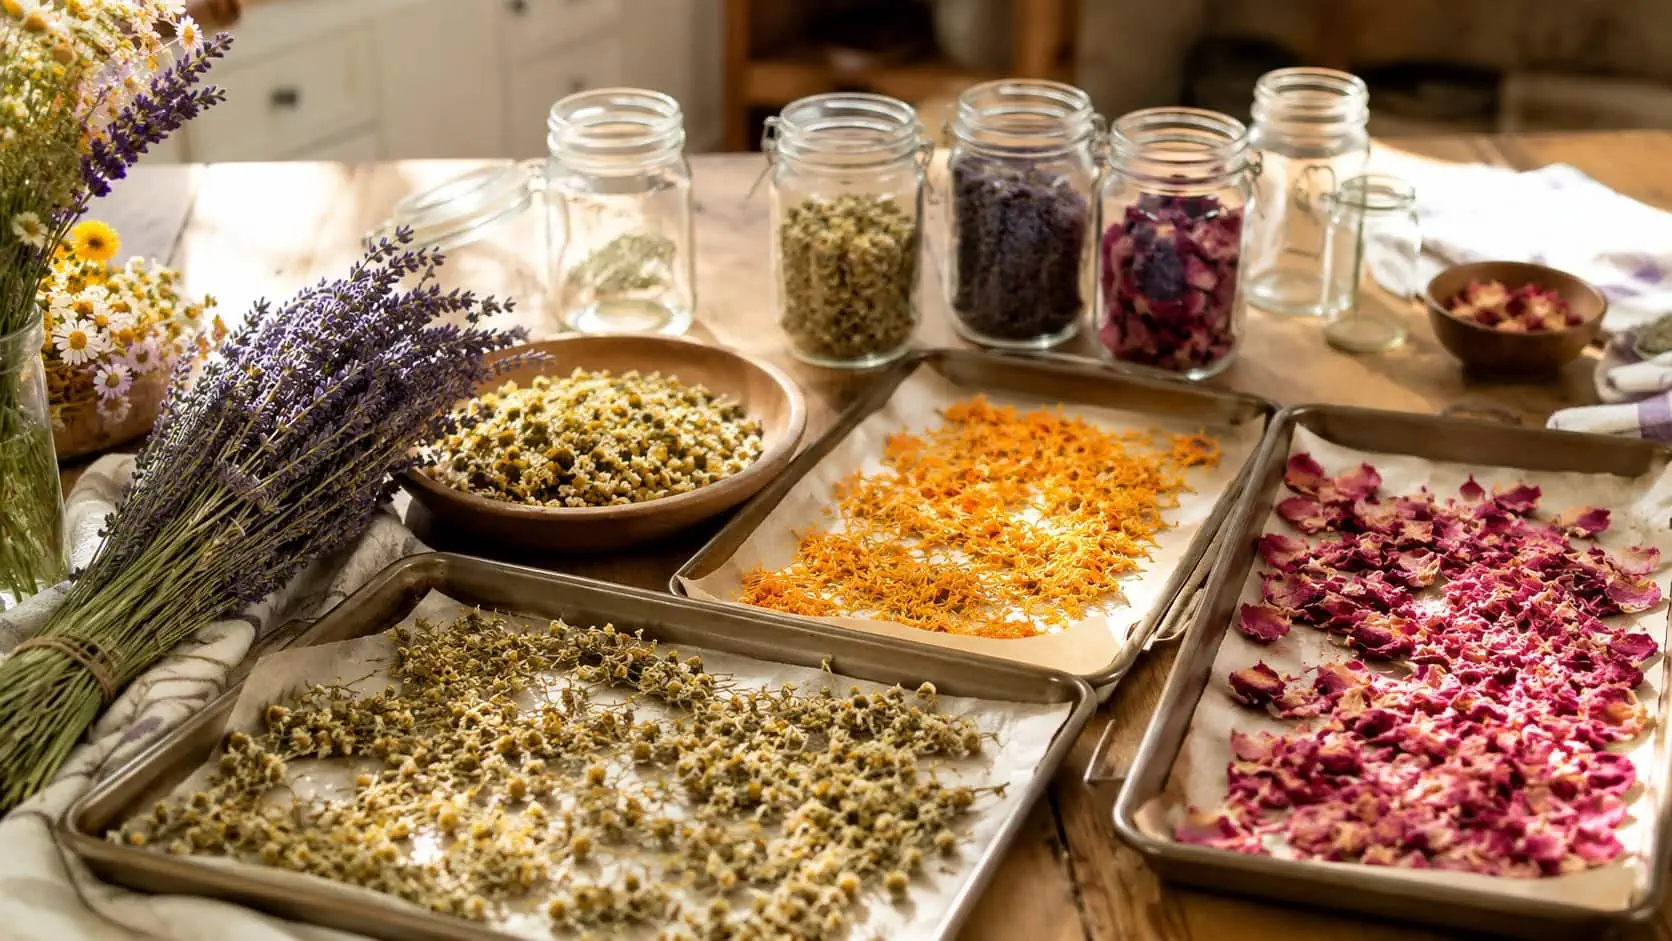
There is a special kind of loveliness in drying edible flowers, one that feels a little softer and more fleeting than herbs alone. Consider this a small preview of a future Cottagestead guide, one devoted entirely to drying flowers at home for tea, gifts, and the kind of cottage pantry that keeps a little bloom in every season.
Which edible flowers are easiest to dry at home?
Chamomile, calendula, lavender, and rose petals are among the loveliest places to begin. They are gentle, useful, and beautifully suited to tea blending, handmade gifts, and the quiet satisfaction of preserving the garden in more delicate forms.
When should I harvest flowers for drying?
Pick flowers when they are freshly opened and fully dry, ideally after morning moisture has lifted. Flowers gathered too damply can brown or mildew quickly, especially when the petals are layered too thickly.
How should I dry edible flowers?
Spread the blooms in a single layer out of direct light and give them good airflow. Petals are more delicate than many herbs, so crowding and trapped moisture can spoil both their color and their fragrance. Once fully dry, store them in small glass jars away from heat and steam.
How can I use dried flowers at home?
Tuck them into tea blends, bath sachets, or simple homemade herb mixes. Even a small jar can make a pantry shelf feel beautifully kept, and a winter cup with chamomile or lavender can feel like a quiet return to the garden.
Is it safe to dry any flower from the garden?
Only dry flowers you can confidently identify as edible, and only use blooms that have not been treated with pesticides, floral preservatives, or roadside pollution. Some flowers are lovely but not safe for the teacup, so when in doubt, leave them out.
Is there a good book for this kind of seasonal flower gathering?
If this part of the pantry life draws you in, Floret Farm’s A Year in Flowers by Erin Benzakein is a beautiful companion for anyone who loves seasonal gathering, garden beauty, and a home shaped by the rhythms of what is growing.
Herbal Tea Drying FAQ
Some herbs seem to dry with the teapot already in mind, as if they know they are meant for quiet evenings and rainy mornings.
What are the best herbs to dry for tea at home?
Mint, lemon balm, chamomile, tulsi, lavender, and gentle blends of these are some of the easiest and loveliest choices. They keep their fragrance well when handled carefully and stored away from heat and steam.
How do you dry herbs for tea without losing flavor?
Tea herbs benefit from a lighter hand, smaller batches, and gentler storage because so much of their charm rests in their fragrance. Whole leaves and blossoms usually keep better than crushed ones.
What is the best way to dry tea herbs?
A dehydrator on a low setting is often the steadiest option for tender herbs such as mint, lemon balm, and chamomile. In a dry home, small airy bundles or single layers on trays can also work beautifully.
How should dried tea herbs be stored?
Dry them out of strong light, avoid excess heat, and store them in tightly sealed jars in a cool cupboard. Open the jars as little as possible, and crush or blend the herbs only when you are ready to brew.
Can you blend dried herbs for tea before storing them?
You can, but many home preservers prefer to store each herb separately and blend by the spoonful later. That keeps the flavors clearer and lets you adjust each cup to the season, the weather, or the mood of the day.
Printable Herb Drying Checklist
Use this checklist on harvest day, or copy it into a notebook for your pantry rhythm:
- Gather herbs after the morning moisture has lifted.
- Choose healthy stems and set aside any bruised or yellow leaves.
- Rinse as needed, then dry the herbs very well.
- Sort by kind, tender herbs together, woody herbs together.
- Keep bundles small, or spread leaves in light, airy layers.
- Choose the drying method that best suits your space and the weather.
- Check the thickest stems and the center of each bundle for hidden moisture.
- Let the herbs cool fully before tucking them into jars.
- Store leaves whole when you can.
- Label each jar with the herb name and the date.
- Check the jars the next day for any softening or condensation.
Frequently Asked Questions About Drying Herbs
How long does it take to dry herbs at home?
It depends on the herb, the method, and the moisture in your home. Air drying may take several days to a week, while a dehydrator or very low oven can finish a batch in a few hours.
What are the easiest herbs to dry at home?
Woody herbs such as rosemary, thyme, oregano, and sage are usually the easiest. Tender herbs like basil, parsley, mint, and dill can dry well too, but they need more care and faster drying conditions.
Should you wash herbs before drying them?
Yes, especially if they are dusty or gritty. Rinse quickly in cool water, then dry them very thoroughly before you begin.
How do you know when dried herbs are ready to store?
Leaves should crumble easily, and stems should snap instead of bend. If the herbs soften again in the jar, there was still hidden moisture, and they need a little more drying time.
How long do dried herbs last?
For the best flavor, use them within about a year. They may still be safe after that, but their color and fragrance will slowly fade.
Should you remove herb leaves from the stems before drying?
Usually, no. Most herbs dry well on the stem, and the leaves are often easier to strip once fully dry. The exception is very dense or tender herbs, which may dry more evenly if spread loose on trays.
Can you dry different herbs together?
Yes, if they have a similar texture and drying time. Woody herbs such as thyme, oregano, and rosemary can often be dried at the same time. Tender herbs like basil, parsley, and mint are better dried separately so one batch does not overdry while another stays damp.
What should you do if condensation appears in a jar of dried herbs?
Open the jar right away and spread the herbs back out to dry again the same day. Condensation means there was still hidden moisture in the batch. If you notice any mold, discard the herbs rather than trying to save them.
If a batch loses color or scent before you finish it, use that as a lesson, not a failure. Dry smaller amounts. Choose a better cupboard. Pack the leaves whole next time. That is how this skill grows. You learn the corners of your home, the habits of your weather, and which herbs forgive a humid week and which ones do not.
And perhaps that is the real charm of drying herbs at home. It begins with the basil just cut, the kitchen full of green and peppery fragrance, stems in your hands, leaf shadows by the sink. In time, it becomes something lovely to admire, bundles swaying gently from a hook, glass jars catching the soft light in the pantry, labels that recall the warmth of the garden in midsummer.
When you learn how to dry herbs at home, you gain more than a pretty pantry. You learn the best way to dry herbs for your own space, whether you’re drying basil, mint, rosemary, thyme, sage, or oregano for cooking, tea, or winter storage. The method may be simple, but the reward is lasting flavor, less waste, and a shelf that carries summer into colder days.
It also becomes something deeply useful. A way to waste less, season from-scratch meals well, brew tea on cold evenings, and tuck the fragrance of thyme, mint, sage, or rosemary onto the shelf for when the weather cools. In that way, dried herbs hold both the romance and the reason of cottagecore living, beauty joined to purpose, and the simple satisfaction of making a home feel cared for, one gathered bundle at a time.
What’s your favorite herb to dry for the pantry?